After days of preparation (researching on moss graffiti, collecting necessary ingredients and tools, thinking up a cool graffiti design, etc), I have finally made my first few moss graffiti with some moss slurry.
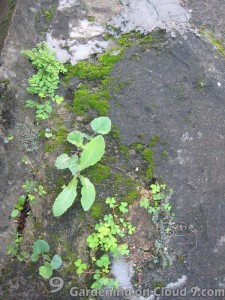
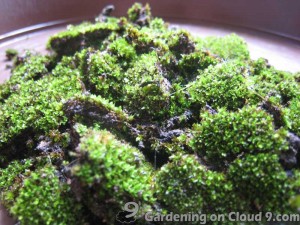
Thru some research, I have learned that while certain moss can grow only on soil, some others can grow only on hard surfaces. Since I am making moss graffiti on wood, it is wise to get moss from a hard surface as well. In this case, I have chosen the moss that grows on a slanted wall outside my apartment complex (I actually didn’t notice that there is moss growing on the slant until now… :P).
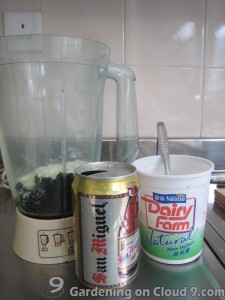
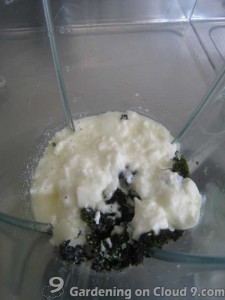
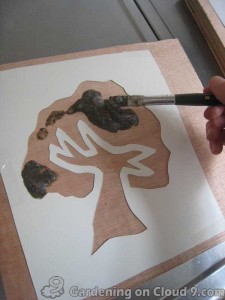
For more or less, I followed the moss slurry recipe posted in Heavy Petal (thanks to the Modern Gardener for giving me the moss slurry recipe link). I used plain yogurt and beer instead of buttermilk and water. And I used less than 2 cups of each for a thick mixture, so to have the mixture stay on the wood in a shape that I have especially designed for my graffiti.
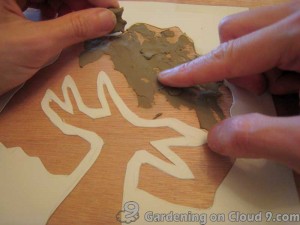
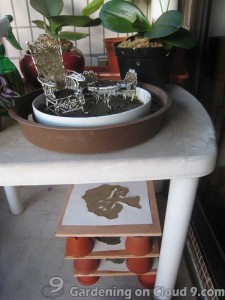
As an experience, I have made 3 moss graffiti with 3 types of moss mixture. For the first one, I just put a thick layer of the moss slurry on top of the wood. For the second one, I added a layer of ceramic clay on the wood before putting the moss slurry. For the third one, I put a thick layer of moss slurry that was made with moss that grows in soil.
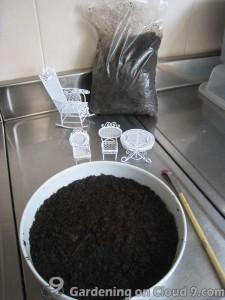
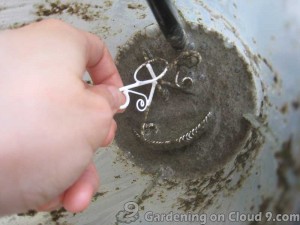
I dipped a few of my miniaturize furniture into the leftover moss slurry. Then, I poured all the rest into a container.
I have placed my moss graffiti in a shady area on my balcony.
So, let’s see what will happen! Can’t wait! 😀
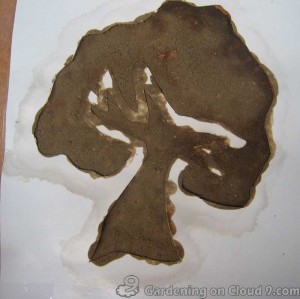


Sandy this is so crafty as well. I wonder if this kind of art can be realised here in hot and humid weather. One day I will try. I like your tree shape graffiti. You drew it yourself? Good job!
Thank you Stephanie. Yes, I drew the tree graffiti. And yes, you should go ahead and give it a try too 😉
Hi,
I’m working on my first moss painting right now. I was wondering if one of the three methods you tried out worked better than the others:
“I have made 3 moss graffiti with 3 types of moss mixture. For the first one, I just put a thick layer of the moss slurry on top of the wood. For the second one, I added a layer of ceramic clay on the wood before putting the moss slurry. For the third one, I put a thick layer of moss slurry that was made with moss that grows in soil.”
Looking forward to hearing from you!
Katherine
Katherine,
Sorry to tell, but I couldn’t grow my moss graffiti as I wanted. I believe that the problem was not the moss slurry, but the constant moist necessary for the moss to propagate and grow properly. To keep my moss graffiti moist, I had kept spraying water on them several times everyday. Yet, the wood boards kept drying up very quickly (especially since it’s in July, right in the very hot summer).
I definitely want to try to do this again, but only when I figure out a way to keep more moist on the moss graffiti (and yes, when the summer is gone 🙂 ). I hope you have better luck than I did. And it would be wonderful if I could get an update from you later on your moss graffiti 😉
Cheers!
I have read that some people mix, into the slurry, the absorbent material in diapers. This method provides stored moisture for the moss.
Realmente buena opción la de anteponer arcilla, he leído que algunos llegan a agregar algodón o telas absorbentes para que que el musgo logre una buena sujeción, el gel absorbente de los pañales resulta bueno aunque si vas a pintar un área grande es muy caro… :S me gusto mucho u articulo espero que sigas así 😀
What were the three types of moss you used, do you know what the names for them were? I’m really interested in doing this for a project.
Hi! I know this was some time ago, but were you ever able to make the moss paint work? I’m on attempt 3 and really want it to work out!!! I think I’m going to try beer this time instead of buttermilk and it’s going on a wooden board but staying inside. Any tips would be GREATLY appreciated!